SIGN LANGUAGE
Sign language, any means of communication through bodily movements, especially of the hands and arms, used when spoken communication is impossible or not desirable. The practice is probably older than speech. Sign language may be as coarsely expressed as mere grimaces, shrugs, or pointings or it may employ a delicately nuanced combination of coded manual signals reinforced by facial expression and perhaps augmented by words spelled out in a manual alphabet. Wherever vocal communication is impossible, as between speakers of mutually unintelligible languages or when one or more would-be communicators is deaf, sign language can be used to bridge the gap.
Language Barrier
Chinese and Japanese, whose languages use the same body of characters but pronounce them entirely differently, can communicate by means of a sign language in which one watches while the other traces mutually understood characters in his or her palm. Evidence of long use of sign language to communicate around mutually unintelligible languages exists for Africa, Australia, and North America. The most generally known model is that of the Plains Indians of 19th-century North America. Although their languages were dissimilar, the mode of life and environment of all groups had many shared elements, and, consequently, finding common symbols was easy. Thus, a cupped hand leaping and bobbing away from the “speaker” was familiar to all as the rump of a bounding deer; a circle drawn against the sky meant the moon—or something as pale as the moon. Two fingers astride the other index finger represented a person on horseback; two fingers spread and darting from the mouth like the forked tongue of a snake meant lies or treachery; and the gesture of brushing long hair down over the neck and shoulder signified a woman. This sign language became so familiar that long and complex narratives—in monologue or dialogue—could be signed and understood within large groups of Indians otherwise unable to communicate.
Inability To Speak
The Indian sign language was codified by use into an explicit vocabulary of gestures representing or depicting objects, actions, and ideas, but it made no attempt to “spell out” or otherwise represent words that could not be conveyed by gestures. Several forms of sign language were developed to enable signers to spell out words and sounds, however. Most of these are as complex and flexible as spoken languages.
It was long thought in many cultures that the deaf were ineducable, and the few teachers willing to try were available only to the wealthy. In the mid-18th century, however, the first educator of poor deaf children, Charles-Michel, abbé de l’Epée, developed a system for spelling out French words with a manual alphabet and expressing whole concepts with simple signs. From l’Epée’s system developed French Sign Language (FSL), still in use in France today and the precursor of American Sign Language (ASL) and many other national sign languages.
FSL was brought to the United States in 1816 by Thomas Gallaudet, founder of the American School for the Deaf in Hartford, Connecticut. The new sign language was combined with the various systems already in use in the United States to form ASL, which today is used by more than 500,000 deaf people in the United States and Canada; it is the fourth most common language in the United States. National sign languages such as ASL have more in common with one another than with the spoken languages of their country of origin, since their signs represent concepts and not English or French or Japanese words. One system, Cued Speech, first developed by the American physicist R. Orin Cornett in 1966, does, however, successfully employ hand signs representing only sounds (not concepts), used in conjunction with lipreading. It has been adapted to more than 40 languages.

STRATEGIES
WEB-BASED MEANING?
Techopedia explains Web-Based Application
HOWTO MAKE A BLOG?

Here’s the quick summary of the set up stages that we’re going to cover in the rest of the article below:
- Purchase your blog hosting — This is where you install WordPress and host your future blog’s files, articles and images.
- Install WordPress from your new cPanel — Install WordPress with just a few clicks from inside your host’s control panel.
- Choose a free theme for your blog — Pick a theme that suits the colors, branding and goals for your blog and install it from your new WordPress blog’s dashboard.
- Publish your first post — Now start writing amazing blog posts that help people, attract traffic, get email subscribers, and more.
Now let’s get into the step-by-step, detailed tutorial on how to start a WordPress blog that over 8,000 people have now used to start blogging properly! As I mentioned in my latest blog hosting review it literally only takes a few clicks to get your own blog.
Step 1 — Purchase your WordPress blog and domain name hosting package
The first thing we need to do is purchase some domain name and blog hosting. This is where all of your blog’s files are stored, and where we will eventually install WordPress as your blogging platform.
(The following images are screenshots I’ve taken from Bluehost so you know what to do. Open up Bluehost in a new window and follow along.)
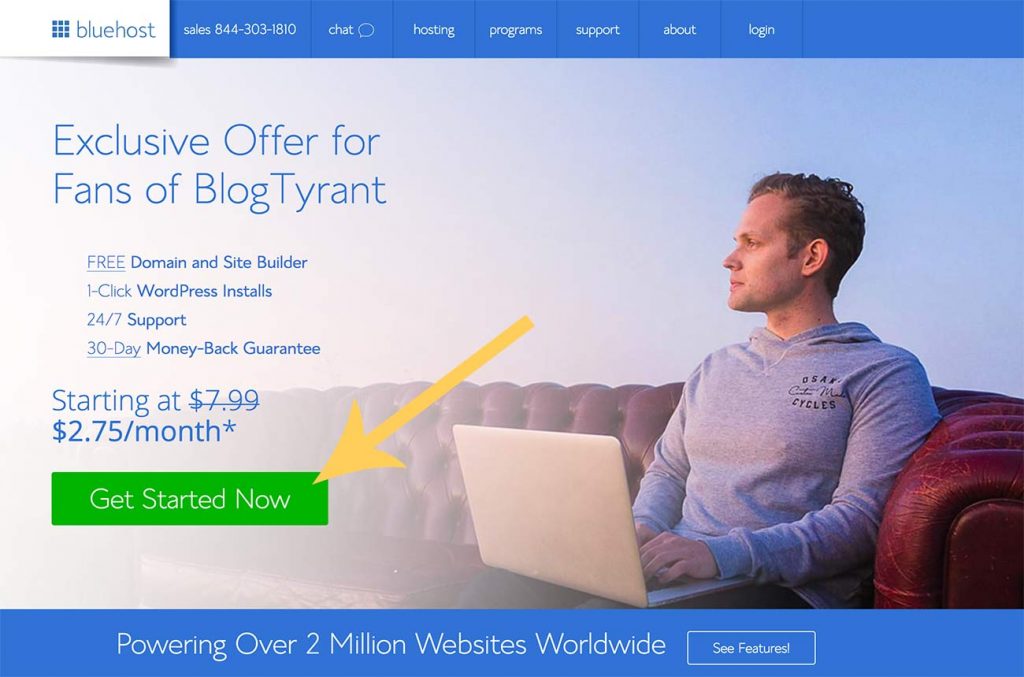
Once you’ve arrived at Bluehost, click the green Get Started Now button that you can see in this image and that will begin the process.
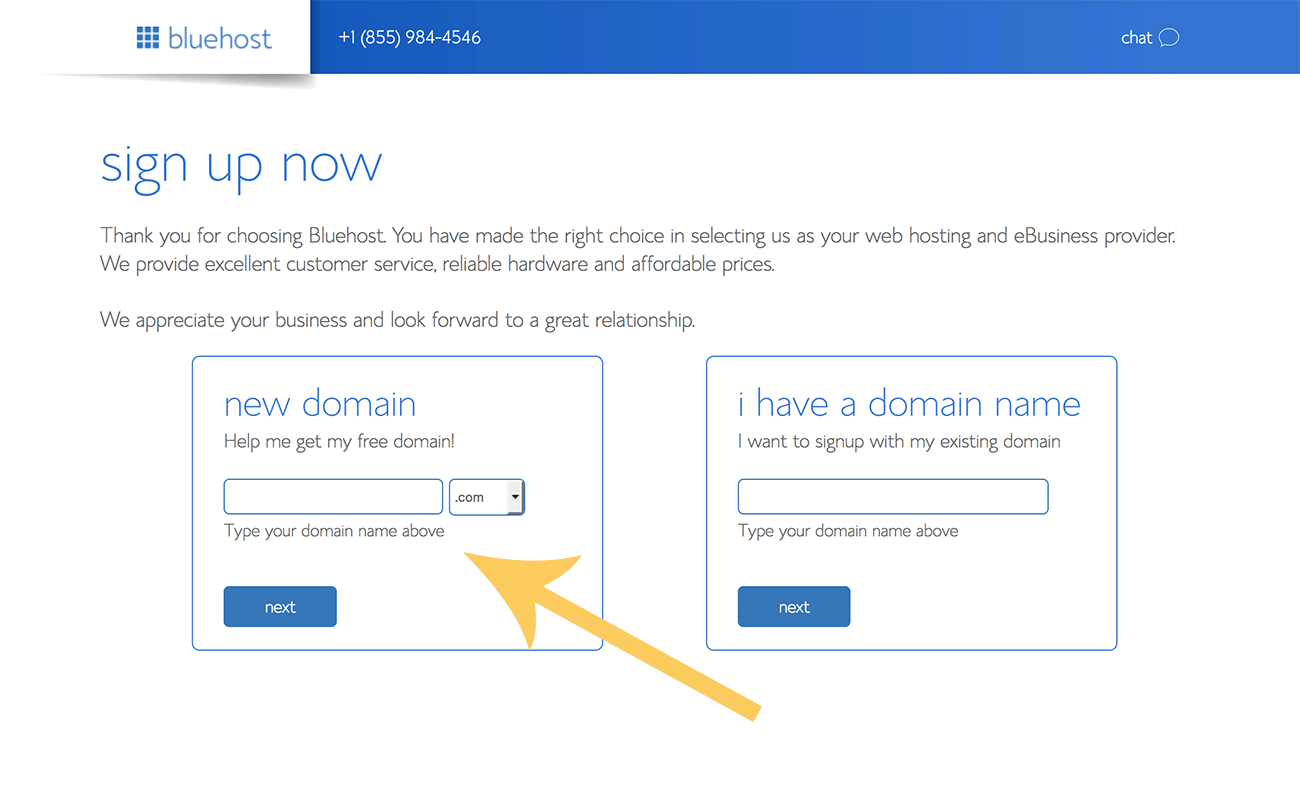
On the next page enter in the domain name that you’d like to use.
You can add unlimited websites and blogs to your Bluehost account so don’t worry too much if you’re not totally sold on your current domain name idea because you can always add more to the same account later using the Addon Domains feature.
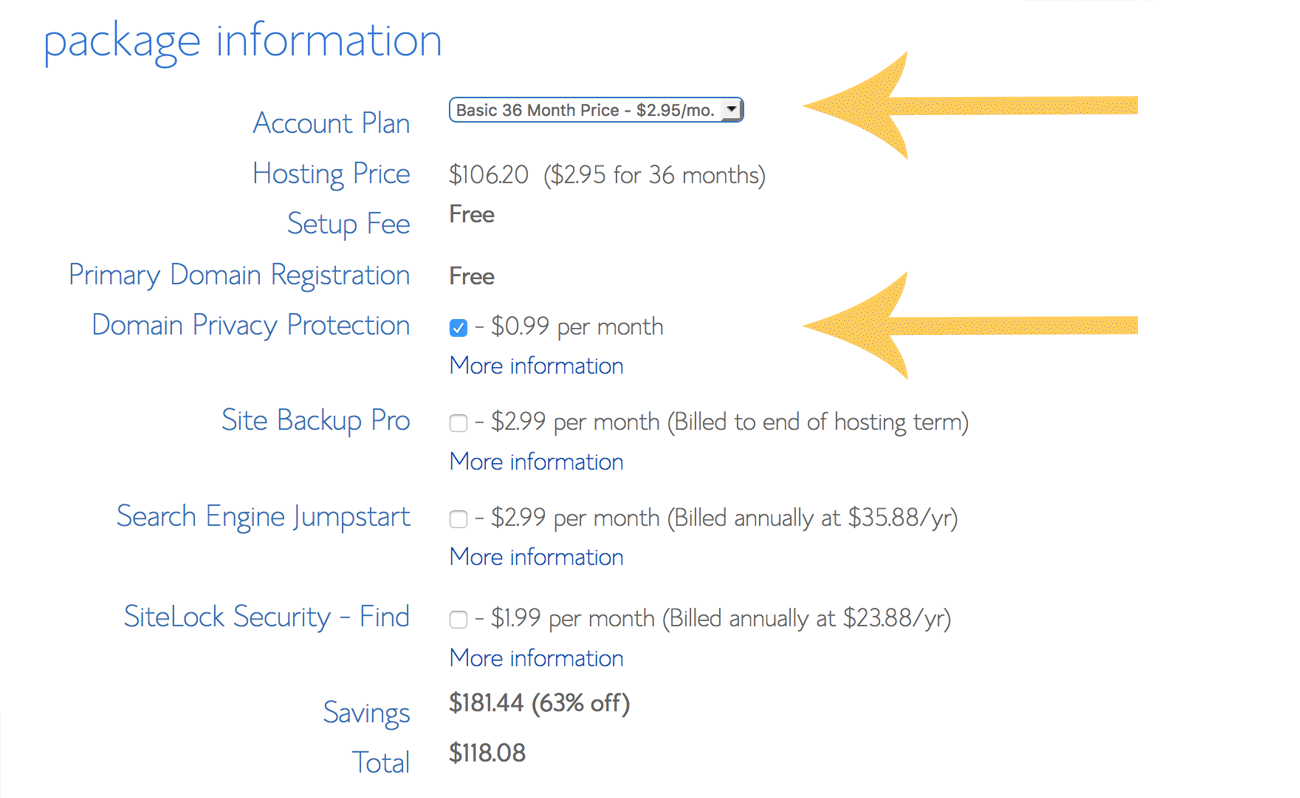
 The next step is easy – just fill out all your contact details and payment information (billed annually). Make sure you use your real details so you can verify your account.
As you can see below, that same screen has some optional extras. It is up to you whether or not you purchase these but I would generally recommend you buy the Whois privacy as this keeps your email, address and other private details hidden on the web.
 At this point you should have completed the first step and you’ll have your very own professional blog hosting area. Congratulations!
Step 2 — Install WordPress for free from your new cPanel within Bluehost
Now that you have purchased your domain name and hosting package you will get given access to something called a cPanel (short for Control Panel).
This is the “engine” of your hosting and has dozens of different icons that link to all the different services and features that are available inside your hosting account such as email, scripts, accounts, and more.
At first it will seem a little overwhelming but don’t worry, you can ignore 95% of them. But this is the page where we need to find the little WordPress icon so we can make our first WordPress blog.
IMPORTANT: I’m going to show you how to do a WordPress install by yourself but you can always ask Bluehost to do it for you. This is a message you’ll see when you first get cPanel access.
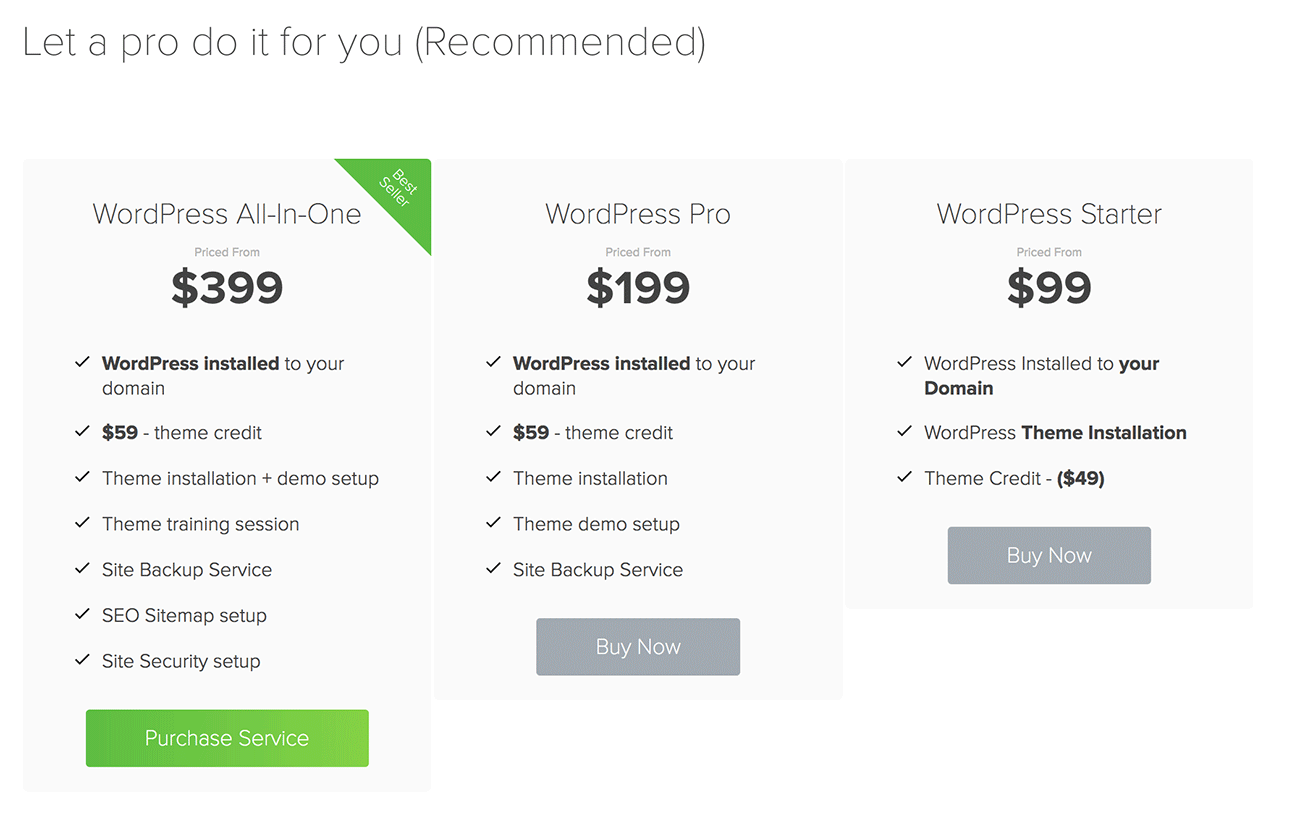 We’re going to ignore that message because installing it ourselves is easy!
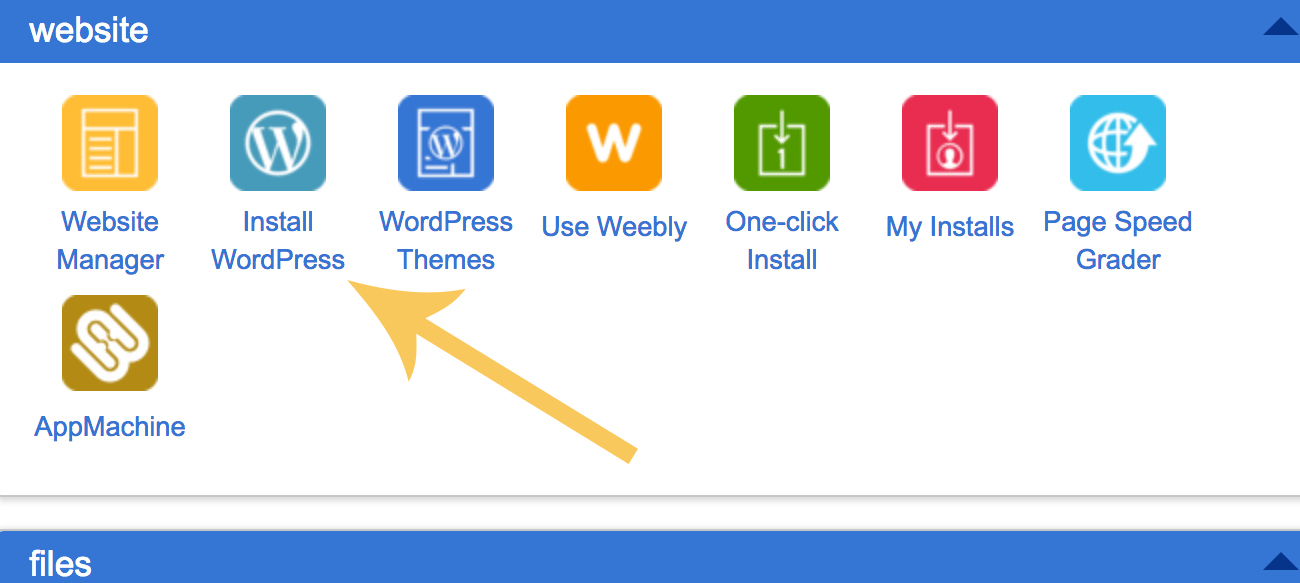
Scroll down until you find the icon called Install WordPress. This is the amazing new software that lets you install WordPress on your host in just a few clicks.
 Now, the next screen has a few options but is actually really simple.
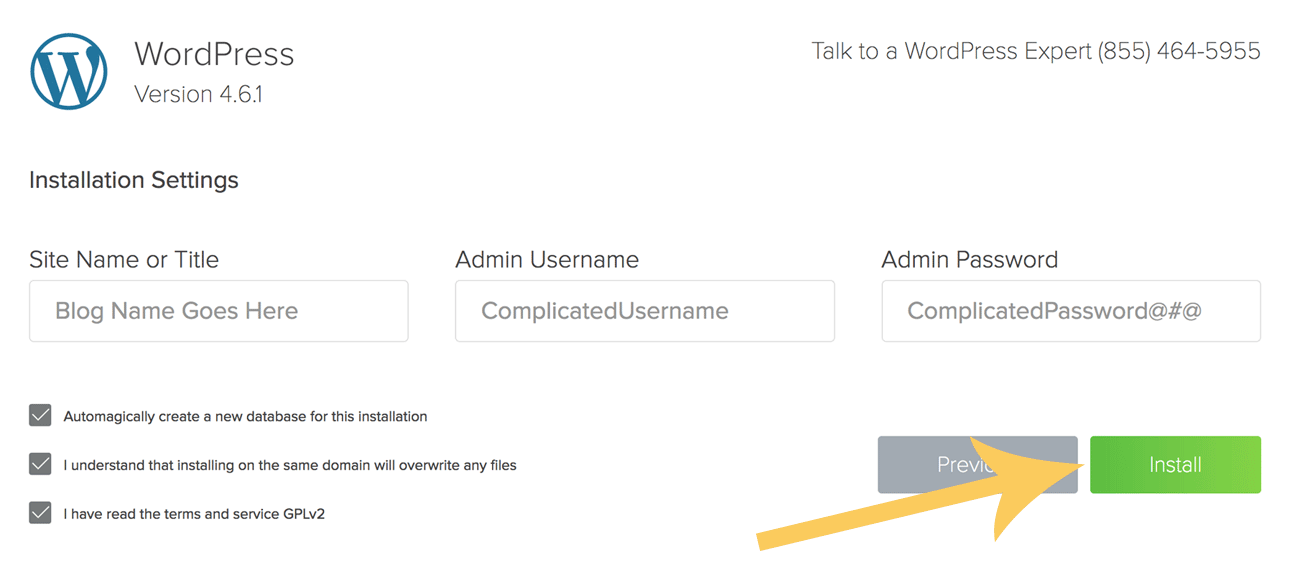 Here you want to fill out all the options like the name of your blog while also making sure you use a complex username (not admin) and password. This is literally all you have to do to get started.
And you’re done!
Once it has finished crunching the installation it will give you a confirmation screening showing you your unique WordPress login URL that will look like this:
http://yourdomain.com/wp-admin
Copy this and bookmark it and make sure you write down your username and password on a piece of paper. Never write this information down on your computer.
This URL is where your WordPress Dashboard is located. This is the “back end” of of your blog and it’s where you publish posts, change themes, edit fonts, upload images and generally run your blog. From this point onward you don’t need to log back in to the cPanel to blog.
That’s it!
Step 3 — Change your WordPress theme
The final (and most rewarding) step in the process is where you install a beautiful new WordPress theme and start writing your first posts!
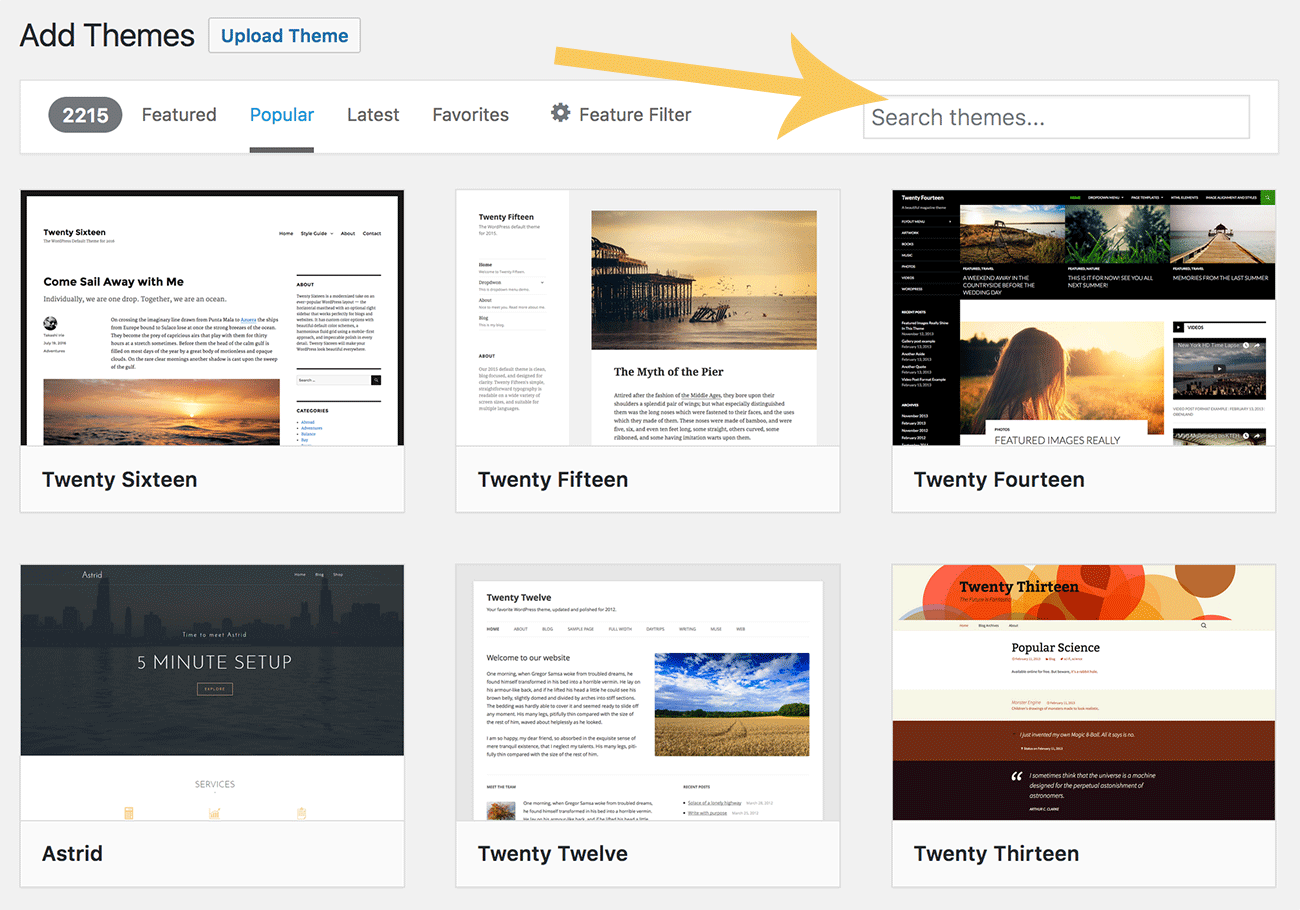
To change your theme simply login to your WordPress dashboard using the URL we got above and go APPEARANCE > THEMES > ADD NEW and then use the search box to find a theme that suits your needs. There are literally thousands to choose from.
 Once you have found a theme that you like you can it’s a good idea to check that it has good ratings from other bloggers and that it has been updated regularly.
You can preview it in this window pane or you can just install it right there!
Now you are ready to start blogging on your new WordPress blog! That whole process from sign up to installing a theme can literally only take five minutes to do. Just follow this guide and if you run in to any problems you can ask one of Bluehost’s amazing live support crew for help. They are there 24 hours a day.
Step 4 — Start building a successful blog
Once you have started a WordPress blog it’s a good idea to have a look at how to create amazing content for your blog.
After all, there is no point going to all the trouble of starting a blog if you don’t put something great on it!

I really recommend taking an approach that involves a deliberate blogging strategy that helps you to get more traffic from Google, lands you consistent email subscribers, and builds you a profitable blog over time.
Here’s some things you might want to do:
- Find a point of difference
It’s important to find a way to make your blog stand out from the rest. Take a look at your competition and figure out a way you can be different. This is vital.
- Come up with a plan
Next you want to sit down and come up with a basic content plan and what goals that plan has. When you have some set goals it shapes all of your future posts.
- Start a mailing list
A mailing list is an essential part of any blog. It allows you to promote new posts, product or affiliates and can be a huge protection from changing SEO rankings.
- Write long-form content
Longer posts get better results in terms of Google rankings and social shares. Try to make your posts between 1,500 and 5,000 words if you want to really make an impact.
- Build your networks
Blogging financial success usually comes from your networks. Make friends with other bloggers in your niche, share their stuff and link to them. These connections will help over time.